Paper Engineering Techniques
Interactive Guide for K-8 Educators
📚 Welcome
Welcome to the world of paper engineering! This interactive guide introduces five fundamental pop-up techniques that combine art, mathematics, and engineering. Perfect for classroom activities, these projects develop spatial reasoning, fine motor skills, and creative problem-solving while meeting educational standards.
These hands-on activities work beautifully for individual projects, small group collaborations, or whole-class instruction. Each technique can be adapted for different skill levels and integrated across multiple subject areas.
💡 How to Use This Guide
Getting Started: Click the grade-level buttons below to see customized instructions and learning focuses for each age group. Then click any technique title to expand detailed step-by-step instructions!
📋 Scope & Sequence
Learning Progression: These techniques are arranged in order of difficulty for optimal skill building:
- V-Fold builds foundation skills with basic pop-up concepts and symmetry
- Parallel Fold introduces movement mechanisms and linear motion
- Rotating Mechanisms develop understanding of pivot points and circular motion
- Pull-Tab combines multiple learned skills into complex interactive movement
- Box Fold serves as the capstone project with advanced 3D construction and spatial reasoning
Sequential Unit: Use as a 5-week progression building from simple to complex
Targeted Lessons: Select individual techniques based on specific learning objectives
Differentiated Groups: Assign different techniques based on student readiness levels
V-Fold (Valley Fold)
- Cardstock or heavy paper (8.5″ x 11″)
- Scissors or craft knife
- Ruler
- Pencil
- Glue stick
- Colored pencils or markers
- Create the base card: Fold an 8.5″ x 11″ piece of cardstock in half to make a 5.5″ x 8.5″ card
- Mark the center fold: Draw a light pencil line along the center fold inside the card
- Design your pop-up element: On a separate piece of paper, draw your design (house, tree, character) – keep it simple and symmetrical
- Create the V-fold mechanism: Cut two parallel slits about 1-2 inches long in the center fold, spaced about 1 inch apart
- Form the valley: Push the cut section forward to create a “step” that pops out when the card opens
- Attach your design: Glue your design element to the front face of the popped-out step
- Test and adjust: Open and close the card to ensure smooth operation
- Symmetry and bilateral design
- Angle relationships (acute, obtuse, right angles)
- Cause and effect mechanics
- Spatial visualization
Best Subjects: Simple shapes like houses, trees, or animals work perfectly. Pre-cut all pieces and provide guided practice.
Learning Emphasis: Fine motor skills, following directions, understanding that folding creates movement.
Enhanced Projects: Multi-story buildings, character scenes, or seasonal themes. Students can modify templates to create unique designs.
Math Integration: Measure angles, calculate symmetry, discuss geometric shapes and their properties.
Complex Projects: Architectural models, kinetic sculptures, or storytelling dioramas with multiple moving parts.
STEM Integration: Physics of motion, engineering design process, prototyping and iteration, mathematical modeling.
Parallel Fold
- Two pieces of cardstock (different colors work well)
- Scissors
- Ruler
- Pencil
- Glue stick
- Brad fasteners (optional)
- Prepare the base: Create a standard folded card as in V-fold
- Create the moving element: Cut a strip of paper 1″ wide by 4″ long
- Make parallel attachment points: Measure and mark two points 2 inches apart along the center fold
- Cut the slots: Cut small slits at these points (about ¼ inch each)
- Install the mechanism: Thread the paper strip through both slits so it moves parallel to the card base
- Add your design element: Attach your drawing (animal, vehicle, etc.) to the visible part of the strip
- Create stops: Add small tabs at each end to prevent the strip from pulling completely through
- Parallel lines and geometry
- Linear motion and mechanical advantage
- Problem-solving through trial and error
- Measurement and precision
Fun Projects: Animals that walk across scenes, cars on roads, or fish swimming. Use bright colors and simple shapes.
Learning Focus: Cause and effect, following multi-step directions, understanding that things can move in straight lines.
Story Integration: Create narrative scenes where characters move through different settings or time periods.
Problem Solving: Troubleshoot when mechanisms don’t work smoothly, adjust spacing and alignment.
Advanced Projects: Multi-track systems, gear-like interactions, or complex scene changes with multiple moving elements.
Real-World Connections: Discuss how parallel mechanisms work in elevators, sliding doors, and manufacturing equipment.
Rotating/Pivot Mechanisms
- Cardstock (2-3 pieces)
- Brad fasteners or paper clips
- Compass or string and pencil
- Scissors
- Ruler
- Hole punch (or sharp pencil point)
- Create the base card: Standard folded card with reinforced center area
- Design rotating elements: Draw circles or wheel shapes that will spin (2-3 inches diameter works well)
- Mark pivot points: Determine where rotation should occur and mark with a small dot
- Create pivot holes: Use hole punch or sharp pencil to make small holes at marked points
- Install the mechanism: Insert brad fastener through rotating element, then through base card
- Test movement: Ensure pieces move freely but aren’t too loose
- Add interactive details: Create arrows, pointers, or windows that reveal information as the wheel turns
- Rotational motion and degrees
- Circle geometry and radii
- Mechanical engineering principles
- Cause and effect relationships
Fun Applications: Color wheels, weather spinners, or “What will we read today?” book selection wheels.
Basic Concepts: Understanding that wheels can turn, exploring cause and effect through spinning actions.
Science Integration: Moon phases wheels, plant growth cycles, or animal habitat spinners for cross-curricular learning.
Design Challenge: Plan what information appears when and where as the wheel rotates.
Complex Mechanisms: Multi-wheel systems, gear ratios, or interactive timeline wheels with precise positioning.
Real-World Applications: Discuss how rotating mechanisms work in clocks, machinery, and transportation systems.
Pull-Tab Mechanisms
- Cardstock (3-4 pieces)
- Scissors
- Ruler
- Pencil
- Glue stick
- Small piece of cardboard for reinforcement
- Decorative materials (markers, colored paper)
- Plan the movement: Decide what will move when the tab is pulled (sliding door, moving character, changing scene)
- Create the base card: Standard fold with a window or opening cut where action will occur
- Design the moving element: Create the piece that will slide when pulled (should be slightly larger than the window)
- Make the track system: Cut two parallel slits in the back of the base card for the tab to slide through
- Create the pull tab: Cut a strip 1″ wide by 4″ long, thread through the track system
- Attach moving element: Glue your design to the part of the tab that shows through the window
- Add a pull handle: Create a small tab or shape at the end for easy gripping
- Test and refine: Pull the tab to ensure smooth operation and proper alignment
- Linear motion and force application
- Cause and effect relationships
- Engineering design process (test, modify, improve)
- Problem-solving and troubleshooting
Story Integration: “What’s behind the door?” or “Day and night” scenes that change when the tab is pulled.
Motor Skills: Focus on gentle pulling motions and understanding how their action creates the movement.
Engineering Vocabulary: Introduce terms like “mechanism,” “force,” and “linear motion” as students build and test their creations.
Problem-Solving: Troubleshoot sticky mechanisms, adjust spacing, and refine designs for smooth operation.
Physics Concepts: Analyze friction forces, mechanical efficiency, and force transmission through the pull-tab system.
Design Iteration: Follow the engineering design process: plan, build, test, analyze, and improve mechanisms based on performance.
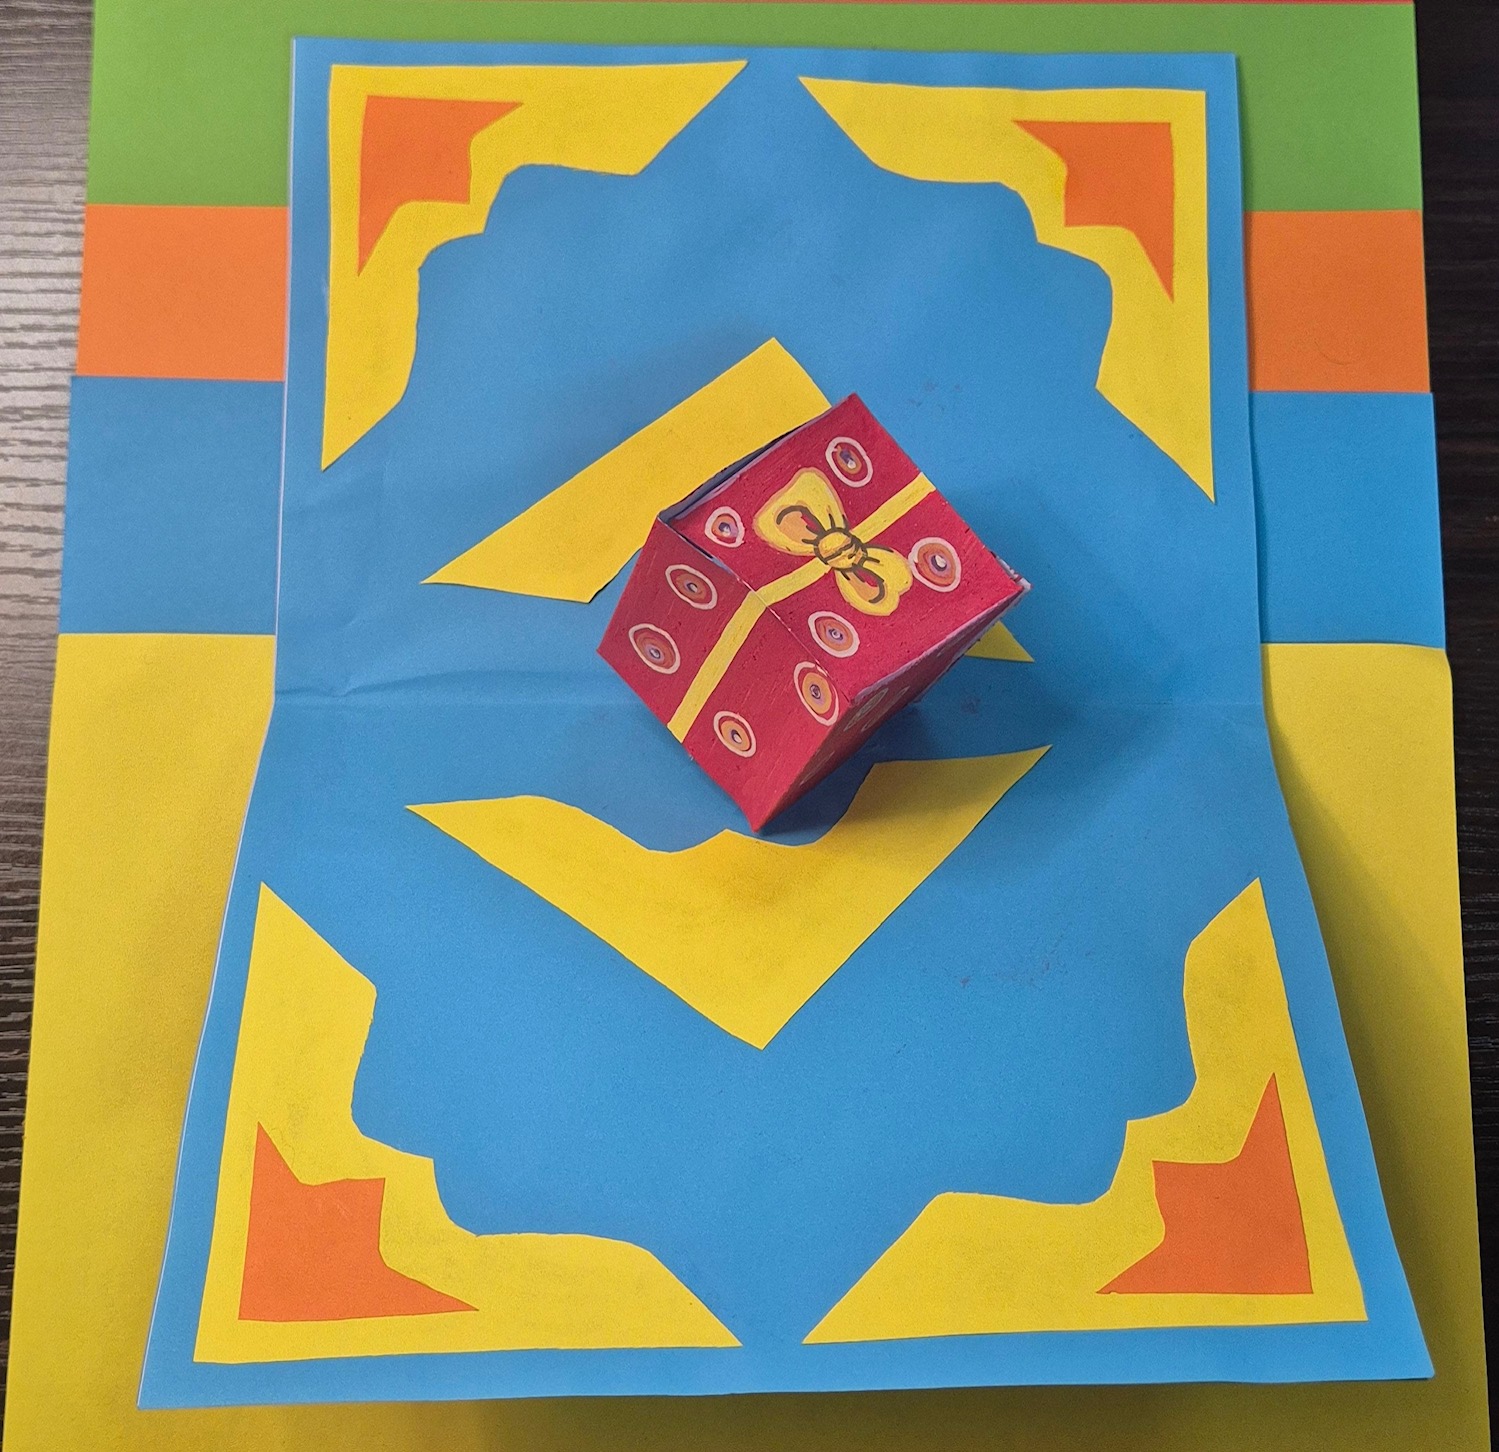
Box Fold (Cube Pop-up)
- Cardstock (at least 3 sheets)
- Ruler
- Pencil
- Scissors or craft knife
- Glue stick
- Graph paper (optional, helpful for accuracy)
- Design the cube net: Draw a cross-shaped pattern with six connected squares (each 2″ x 2″)
- Add attachment tabs: Draw ½” tabs on appropriate edges for gluing
- Cut and score: Cut out the net and score all fold lines with a ruler edge
- Create the base attachment: Cut two parallel slits in your card’s center fold, 2 inches apart
- Assemble the cube: Fold and glue the net into a three-dimensional box
- Attach to base: Glue the bottom edges of the cube to the card through the slits
- Add decorative elements: Draw windows, doors, or other details
- 3D geometry (faces, edges, vertices)
- Spatial reasoning and visualization
- Net patterns and geometric relationships
- Mathematical precision and measurement
Simple Projects: Houses, gift boxes, or animal habitats. Use large, simple nets with minimal detail to avoid frustration.
Vocabulary Building: Introduce terms like “cube,” “face,” “edge,” and “corner” through hands-on exploration.
Measurement Practice: Use rulers to create precise squares and add accurate tabs for assembly.
Creative Extensions: Design buildings for a classroom city, create dice for math games, or build geometric sculptures.
Engineering Challenge: Design load-bearing structures, create interlocking systems, or build architectural scale models.
Advanced Concepts: Explore how 2D patterns translate to 3D objects, discuss manufacturing and packaging design applications.
Check out our tutorial videos for a look at the process!
We’d love to see your creations! Send us snapshots of your completed pieces to info@thence.us to be featured on our socials or tag us on Linkedin or Instagram!


